Growing Palm Trees from Seed
A Nurseryman’s Viewpoint
by Phil Bergman
A summary of important points to think about when germinating palm tree seeds
POINTS DISCUSSED:
Selection of seeds
Germination techniques
Procedures and Recommendations
Creating an ideal environment for germination and growth
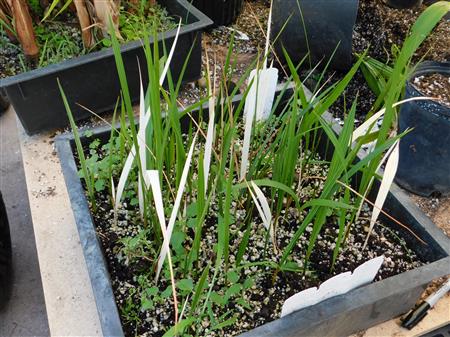
LINK TO PALM TREE BLOG
Click photo to enlarge
Decide Which Seeds To Germinate
- Have a plan for what you are trying to accomplish, and select your seeds accordingly. Palm tree care begins with picking the right species to grow.
- Select species that will do well in your locality. Particular attention should be given to cold tolerance for your area.
- Obtain the appropriate number of seeds for your needs.
- Always identify the seeds by species, source, and date when you collect or receive them. Don’t throw everything into a bag to figure out later. You’ll undoubtedly forget what is what.
- Be aware that there are regulations on the importing and international sale and trade of seeds. Often, phytosanitary permits are needed. Sometimes, with Endangered Species, a CITES permit might be required, even on species of palms. Assume it is necessary for cycad seeds and refer to specific CITES laws. On some endangered species seeds, it’s simply not possible to import these seeds into the U.S., so be cautious and careful before you attempt to import such seeds.
- Update Jan., 2016. Because of an assortment of changes in importation laws into the U.S., the international commercial seed market, present time economics and other factors, it is getting almost impossible to find high quality, rare palm seeds. It’s even worse with rare cycads. I have emails from enthusiasts daily about their inability to find seeds. Unfortunately, this is true. Consequently, obtaining seeds often requires connections to domestic seed sources or individual garden owners. But, this is a long and tedious process and one has to often wait quite a while for seeds. I would say at this time, I know of only one reliable source that offers seeds internationally. There are one or two reliable domestic seed sources here in the U.S. If you do purchase seeds on the Net, be very careful and look at reviews of your supplier. It’s easy to waste money on seeds that don’t germinate or aren’t as described. Suppliers’ ethics may not match your expectations.
- If you call or email me, I can sometimes refer you to a reputable supplier. I would, of course, like to sell you established seedlings. This saves you usually two years of your time. I have many tens of thousands of seedlings for sale of scores of species. But, germinating is fun and I understand how people want to germinate their own seeds.
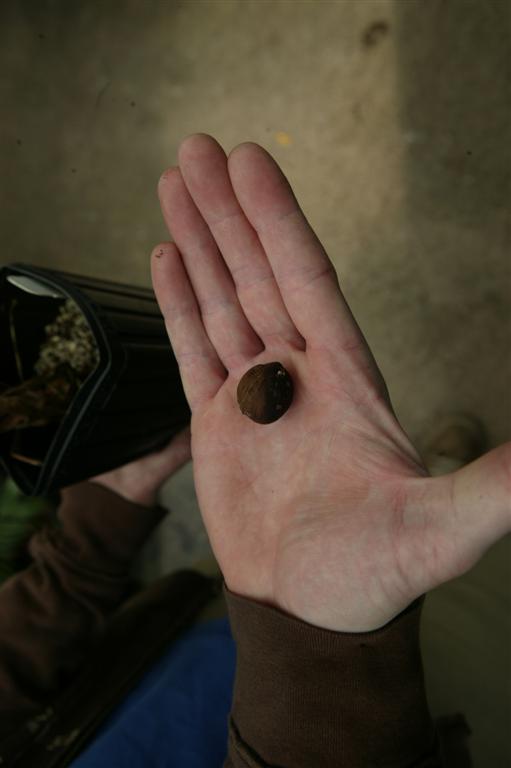
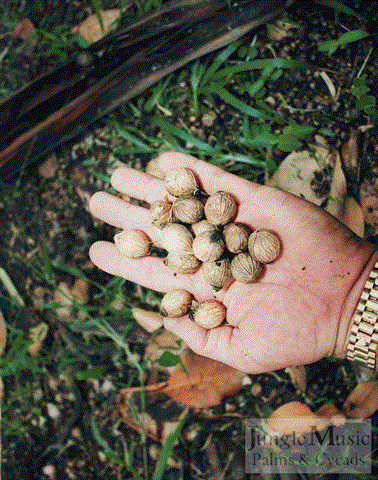
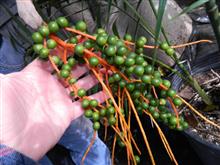
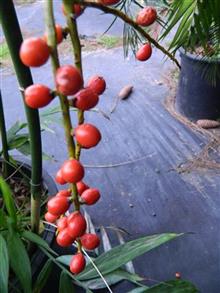
Pick or Purchase Ripe Seeds – Never Green Seeds
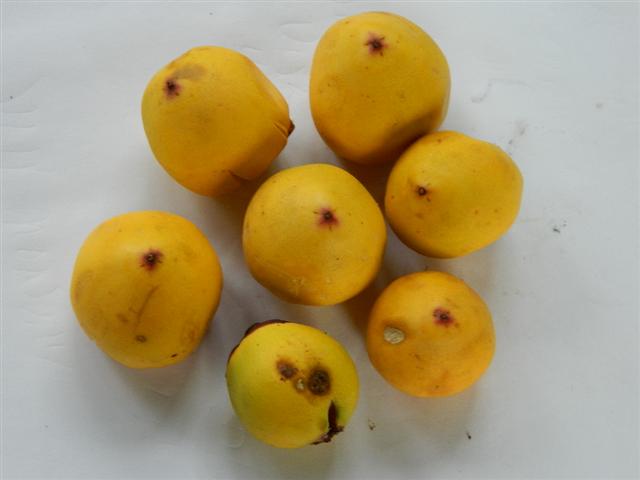
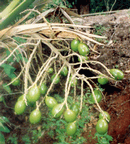
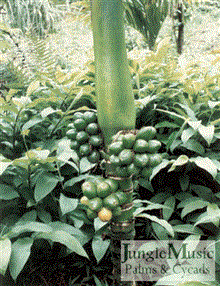
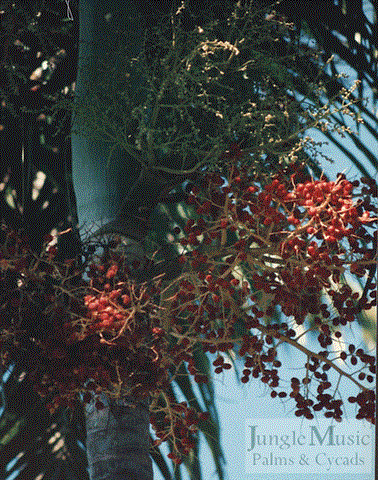
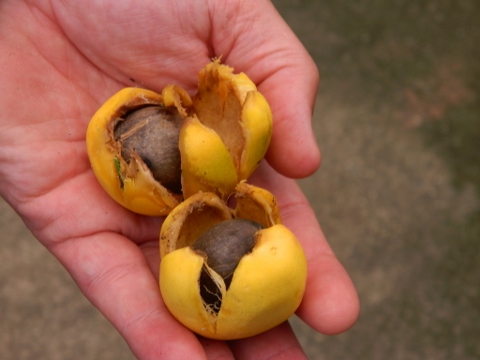
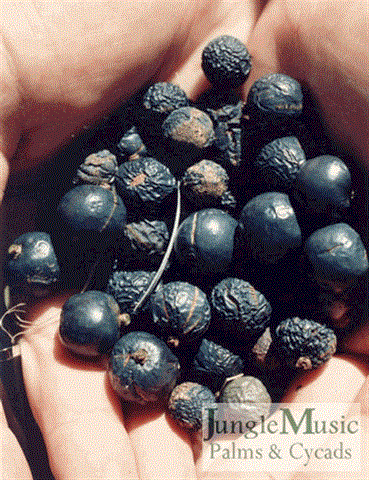
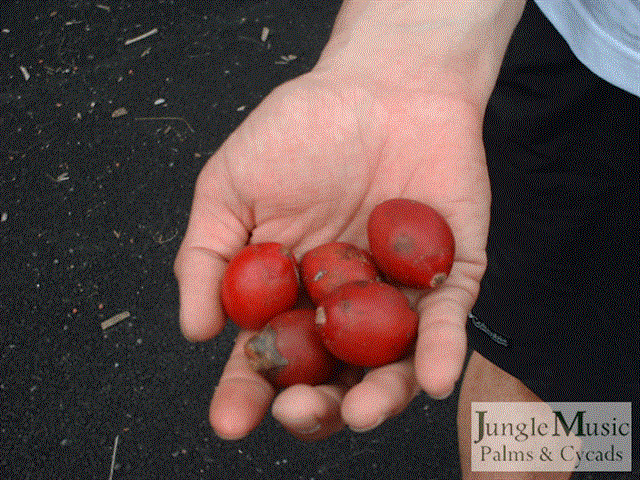
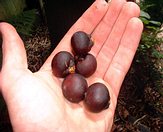
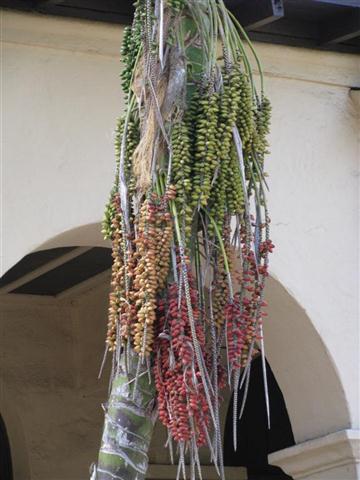
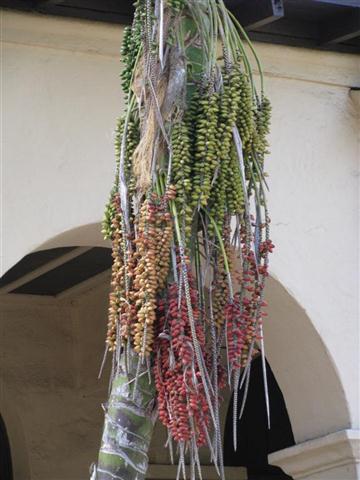
- Always try to pick seeds that are mature. The fruit of such seeds are usually a prominent color. They can be black, brown, red, orange or yellow. If the fruit is green, wait a while and they should become colorful. Then pick them. See photos here to recognize green or ripe fruit.
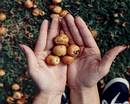
- Pick fruits that are of adequate size. This takes experience to recognize. Sometimes “duds” are made – small, immature seeds that will never germinate. It’s a waste of time to fool with these.
- Remember that some single palm trees, all by themselves, can make viable seeds. This is called a monoecious species. It has both male and female flowers. But, there are also dioecious palms where both a male and female are needed. Without the male pollen, all seeds will be “duds”.
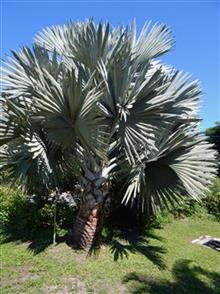
- A few examples of monoecious palms would include the Queen Palm, Dypsis, Veitchia, Syagrus, Butia and Howea.
- Examples of dioecious palms would include Chamaedorea, Bismarckia, Ravenea, Phoenix, Elaeis and Kerriodoxa.
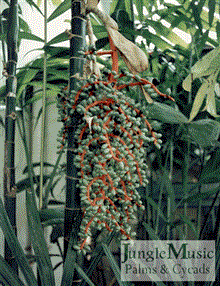
not ready to harvest
Get High Quality Seeds
- Best results usually come from fresh seeds collected by the grower himself. Only collect ripe seeds. Avoid immature, green seeds. Ripe seeds have mature fruit color and are ready to drop.
- If purchased, obtain seeds from a reputable dealer. An unscrupulous broker may intentionally or unwittingly give seeds a false or a more sellable species name to facilitate the sale. You will be unaware of this problem for some time. Such mistakes have led to great confusions with species of palm trees, especially with recent introductions from Madagascar.
- When you find a good seed broker, stick with him. He wants your repeat business.
- If purchased, inquire about the age of the seeds. Seeds from distant lands can take months to get into your hands. Except for his source, a seed broker will usually share information he knows.
- Poor germination results are usually the result of old, green picked or poor quality seeds.
- Obtain a USDA Import Permit if you plan to import seeds internationally
Clean Off The Seed’s Fruit
- Before your seeds are shipped to you, insist the fruit is removed to avoid confiscation by the USDA.
- Likewise, clean fruit from seeds you are bringing into your state or into the country.
- Rot problems may develop when sewing seeds if fruit is left on the seed. Dry the seeds prior to shipping or transport.
- Wear gloves when cleaning fruit on some species such as Caryota and Arenga.
- Seeds germinate better with the fruit off and there are less fungal problems.
- Fruit contains certain germination inhibitors. Cleaning of the fruit eliminates these inhibitors.
- To prevent later rotting of seeds, make sure all slime or remnants of fruit are removed so the seeds are not “slimy”. We do this while washing them in a metal mesh sieve under running water. But, you can also use a circular wire brush on a drill with the seeds in water in a drum. Note that just removing the fruit is not enough. You must also clean off the thin coat of remaining fruit! Many agree that improper cleaning of seeds is the number one reason for failure in germinating palm seeds.
Checking Authenticity Of The Seeds
- This is one of the hardest things to do. You want to verify that the seeds received are truly what you thought you were purchasing. The same applies to seeds collected in habitat.
- In habitat, either at the time or later, try your best to identify the species collected.
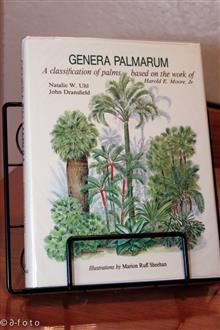
- On shipped seeds, utilize references with seed morphology such as “Genera Palmerum” to verify authenticity of the seed you have received. This is sold by the International Palm Society.
- Since it takes months to get germination and even longer to see a growing plant, it’s likely that it will be some time before you recognize you don’t have what you ordered or thought you collected. This happens. A good relationship with your seed supplier may resolve such issues. Don’t be accusatory of the seed merchant. Remember, he has to trust his sources as to their accuracy in collecting seeds and mistakes do happen.
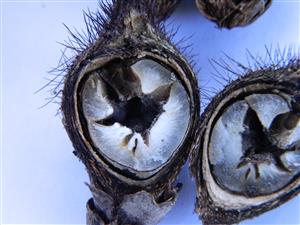
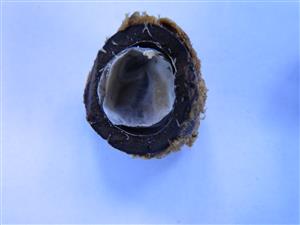
inner cavity – no good
Checking Viability Of Seeds Obtained
- Depending on the species, seed viability varies from several weeks to six to twelve months. Small seeds typically have shorter duration of viability. Understory and more tropical seeds likewise have a shorter time from ripening to loss of viability. As anticipated, seeds that are from more arid habitats typically have longer viability windows.
- Check the seeds general appearance. Good seeds look fresher and feel heavier in the hand. Old seeds look desiccated and feel lighter.
- Check seed size. If you know what a seed is should look like and seeds received are much smaller, either you have bad seeds or another species.
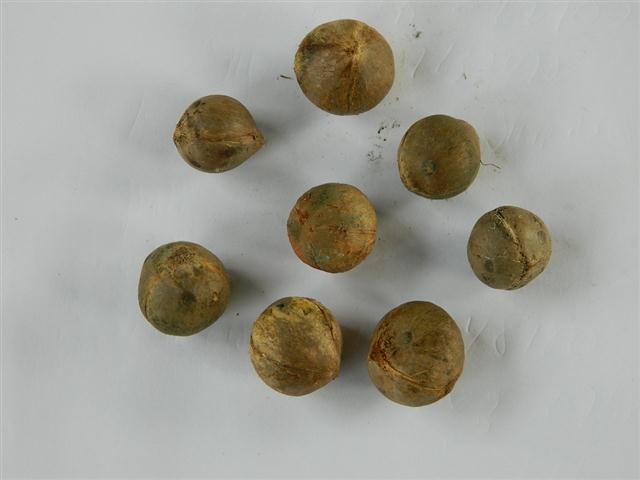
- Pinch Test: Viable seeds never collapse when pinched between your thumb and forefinger. If the seeds do collapse, they are either immature seeds or they are old, desiccated seeds with internal air cavities from rot to the embryo or endocarp. Discard such seeds.
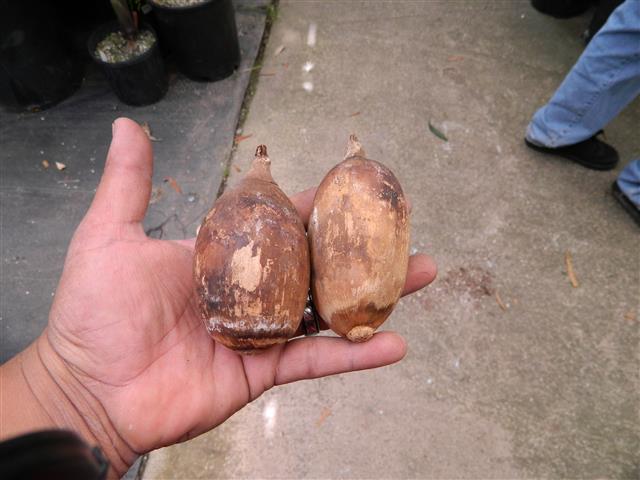
- Cut Open a Few Seeds: You cut them length-wise and look for inner hollow cavities. If you see an empty or rotten center, the chances are 99% that the seed is no good. (see photo of Astrocaryum seeds to left)
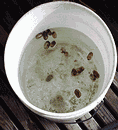
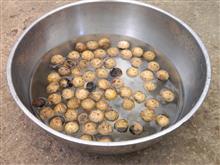
- Float Test: Viable seeds invariably sink to the bottom when soaked in water and bad seeds float for the reasons described above. This is providing that any outer fibrous covering layer of the seed has been removed. There are a few exceptions, but floaters usually do not germinate.
- Cutting a representative seed in half may reveal any early rot or desiccation problems.
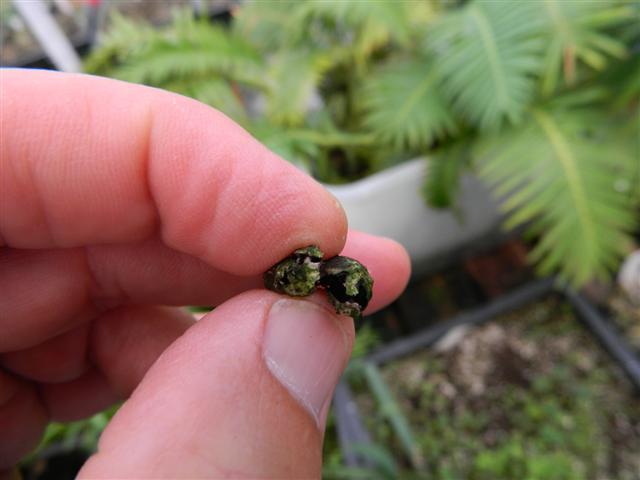
Seed collapsed on pinching
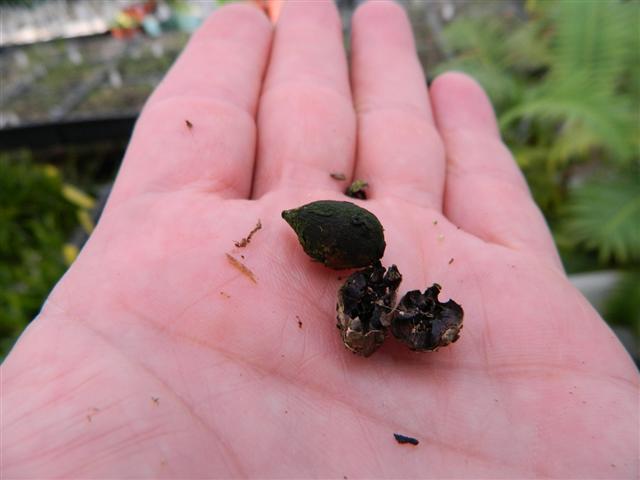
Soaking The Seeds
- Seeds of palm trees recently cleaned of their ripe, supple fruit do not need to be soaked.
- Seeds shipped internationally or from a broker invariably benefit from a 24 hour soak in clean water. Some growers advocate chlorine free water for soaking.
- Soaking prior to sewing gives the seed a jump start and helps revitalize older seeds. With short-lived embryo viability time-windows, such rehydration may be the difference between success and failure.
- Soaking may be eliminated if one is utilizing an effective automatic and intermittent misting system. With most conventional techniques, however, soaking will prove advantageous.
- Soaking may protect the seed from desiccation in the short run. But, as described below, you must mist or water the seeds to keep the medium moist.
- Over-soaking will produce bubbles from fermentation of fruit remaining on the seeds. If longer soaking periods are used, change the water daily.
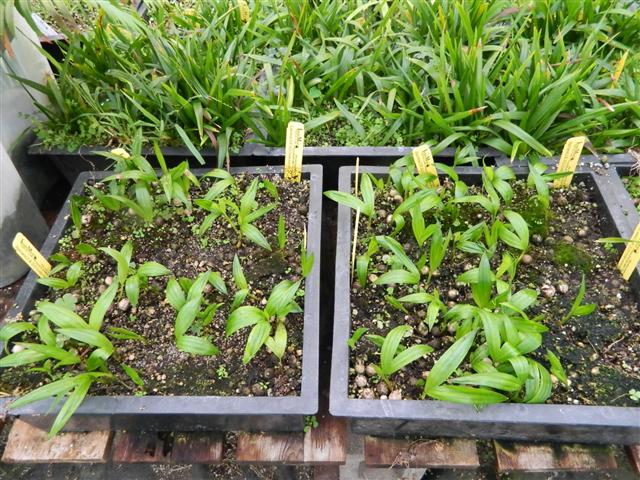
Germination Techniques: Community Pots Or Beds
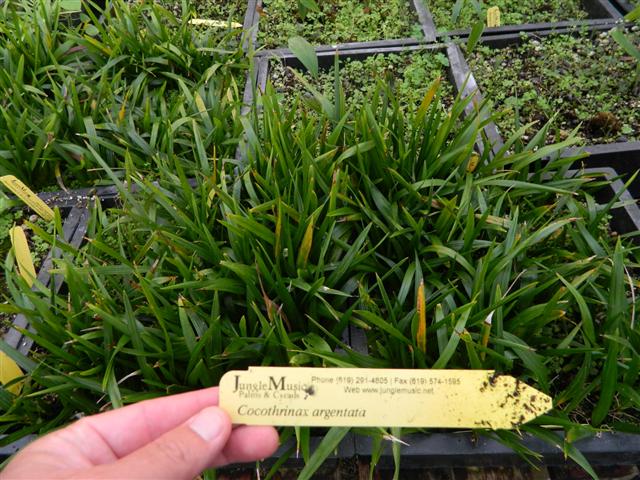
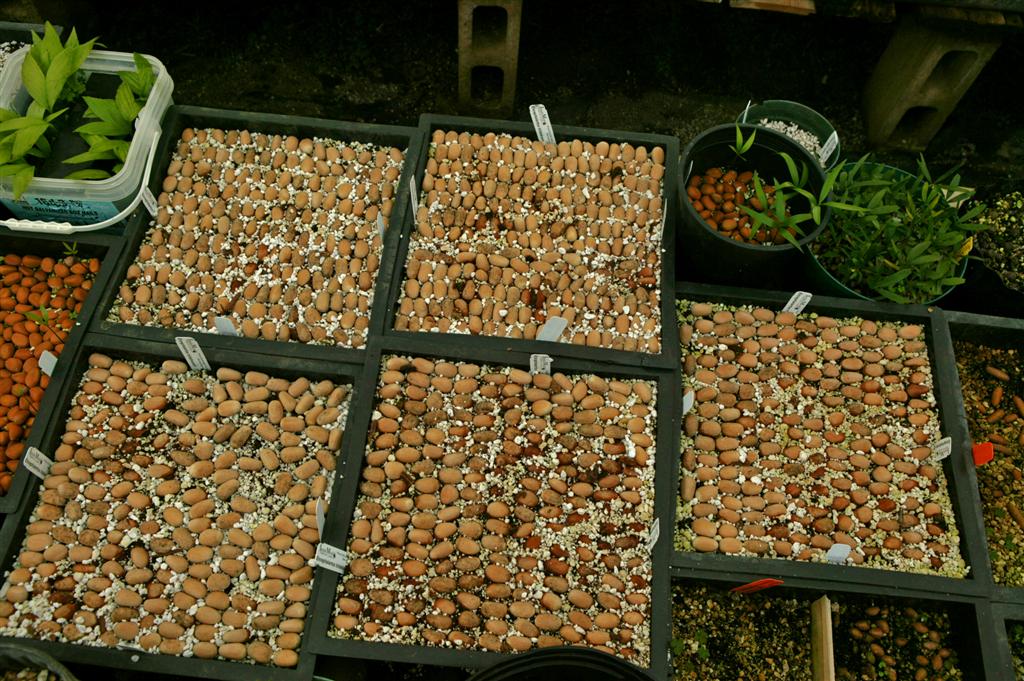
- This is a method by which seeds are sewn in a container or bed, typically many seeds placed side by side in the germinating soil.
- This is the technique we most commonly use. It is more space efficient for us. We do not utilize the “Baggie Technique” described below except in very unique situations.
- Good for day to day observation and offers a grower the opportunity to remove seedlings at will.
- We like that seeds are easily seen and followed when germinating and easy to remove from their pots.
- Advantages: Easy observation, erect seedlings, good air circulation, easy application of chemicals or fertilizer, application of bottom heat, and independent removal of seedlings as needed.
- Disadvantages: Somewhat more difficult to set up, potential for less heat or humidity, greater desiccation risk, chance for collateral contamination by fungus.
- Most frequently used technique by commercial growers.
Germination Techniques: “Baggie” Technique
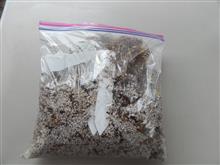
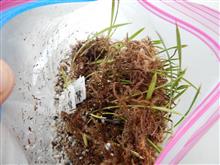
- An easy technique of placing seeds with some slightly damp sphagnum moss (or other medium such as perlite) into a transparent plastic baggie and putting the baggie in a warm environment, such as near a water heater.
- Advantages: improved humidity, inexpensive, simple, space efficient, mobile, and good for small numbers of seeds
- Disadvantages: Poor visibility, twisted seedlings, potential for rapid fungal demise, lack of ventilation, inferior light, risk of under-hydration without warning, and need for timely removal when ready or one gets seedling spaghetti.
- Preferred technique by some hobbyists.
- Plastic Tubs: In more recent times, growers have been germinating in clean plastic tubs. This is without the usage of plastic bags. You put the seeds into a germinating mix and put the tubs into a warm location. Be aware that, with this technique, if something goes wrong (fungus or rot), you’ll most likely lose the whole crop if you don’t recognize it early.
- New Article Coming: In the near future we’ll be writing an article on this technique as we’ve gained more experience with it.
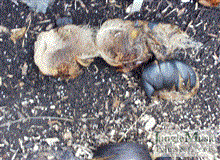
Specialized Germination Procedures
- This includes special procedures done to particular species of palm seeds to improve poor germination results from standard techniques. Although successful for a few species, in general these practices are never needed for most species. However, there are some special rules in palm tree care and germination.
- Plucking out the eye of a large coccoidal seed of species such as Jubaeopsis cafra. In skilled hands, this technique has been reported as successful.
- Utilizing very high heat for promoting germination of some genera such as Acrocomia and Lemurophoenix.
- Germination of Borassus species in extremely deep containers to have room for the large and deep root radical.
- A good note: Howea forsteriana, here in Southern California, are slow to germinate but do well with good results if you just cover the seeds in the garden with an inch of garden soil. Expect a batch to take about 18 months to show results.
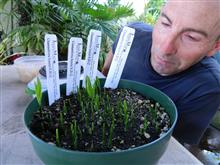
Placement of the seeds
- A common question is “how deep do I bury the seeds”. This is actually quite important.
- Depth of placement of the seeds depends on the size of the seed. For palms, I would almost never recommend placing the seeds entirely on top of the germination mix. Such seeds usually dry out and never germinate.
- For small seeds, I’d usually recommend putting them about a quarter of an inch below the surface of the potting mix. This keeps a moist environment around the seeds so they don’t dry out.
- For larger seeds (an inch long or more), I usually recommend putting the seed submerged so that about the upper third of the seed is exposed. Thus, most of the seed is below the surface of the mix.
- No matter how deep you put the seeds, remember that you have to keep the germination mix slightly damp. Otherwise, seeds will desiccate.
- In terms of horizontal spacing of seeds, don’t cram too many into your container. Seeds that are too tightly packed in will compete and some will never germinate.
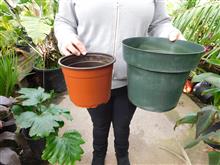
Size or Depth of Pot Used for Germination
- To answer this question, you need to consider what species you are trying to germinate. We never like shallow trays for germination. Once in a while we’ll utilize a three to four inch tray on some species. But, it’s rare to germinate palms which don’t send their roots down at least three to four inches. So, a super shallow two inch tray is not ones first choice for sure.
- For species that don’t have deep and aggressive root systems, a pot six inches deep should be adequate. Examples of such species might include Chamaedorea, Calamus, Coccothrinax, some Dypsis, Licuala, Pinanga and Roystonea Rhapis and Trachycarpus.
- For species that have aggressive roots of a very deep tap root, a pot eight to ten inches deep is much better. Examples of such species might include Archontophoenix, Bismarckia, Brahea, some Caryota, Chambeyronia, Veitchia, and Sabals.
- FIf you are not sure, it’s better to use a deeper pot than one more shallow.
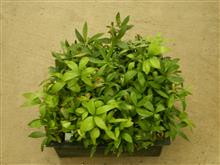
Germination Environment
- A temperature/humidity controlled greenhouse environment is ideal. This offers more heat, higher low temperatures, and more consistent humidity. There is also less risk of predators, weed contamination and weather-related problems.
- A simply constructed germination box made out of Styrofoam with a plastic lid can be constructed cheaply and work well. It is ideal for the hobbyist. A simple warming device such as a light bulb can be utilized.
- If not utilizing a greenhouse or germination box, provide your seeds with the warmest area possible with good humidity and away from direct, hot sunlight. Filtered light is preferred for germinating palm seeds.
- Palm seeds can germinate in dark environments – i.e. without sunlight. BUT, very soon after germination, light is needed. So, if you use the Baggie Technique, be prepared to quickly repot new seedlings that have germinated and move them into filtered light.
- Humidity levels of 60 to 70% are ideal. Avoid overly damp locations or rot will develop.
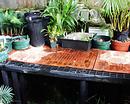
Utilization Of Bottom Heat
- This is a system of utilizing artificial heat below the community pot to accomplish or accelerate germination.
- Commercial heating mats are available with thermostat controls.
- Advantageous for most species. Speeds germination. Is not inexpensive to use.
- Bottom heat requires a flat surface to function. It is best to shield loss of heat from the bottom of your mat. The distance from the seeds to bottom heat is critical. If too close it may overheat seeds.
- For species from colder natural habitats, bottom heat may diminish germination rates and be totally unnecessary.
- It will increases water requirements and/or frequency of misting.
- A thermometer should be utilized to verify optimal medium temperature.
- Be aware that old mats present a fire hazard. Mats should be replaced when they are old or show signs of deterioration.
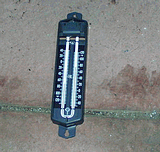
Simple Outdoor Germination
- This means germinating outdoors in a small pot or the garden, nothing fancy. This can be successful with many species in you live in an area that gets adequate heat and not too cold. One should avoid direct sunlight on most species and keep the soil somewhat damp.
- One follows many of the guidelines outlined elsewhere in this article. This can be done simply under a bed of mulch in the garden.
- Outdoor germination can be successful on many of the cooler growing species of the genera Howea, Chamaedorea, Butia and Parajubaea.
Germination Medium/Soil
- It must provide a root substrate, moisture, nutrients and aeration.
- It is ideally loose enough for easy penetration of germination radical.
- It should accept water easily and not dry out too quickly.
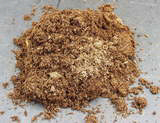
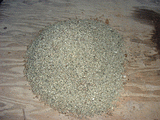
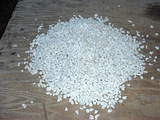
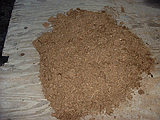
- There are various opinions on the ideal mix. The mix can be made by hand or purchased as germination mix. Typically used are mixtures of perlite and peat moss in a 2:1 or 3:1 ratio.
- Wetting agents are often added to medium to help with watering.
- Pure peat moss can be used but can turn into a hard block if ever allowed to fully dry out.
- Other mediums: Sphagnum moss, sand, shavings, etc.
- As seedlings germinate and grow, a different growth medium is needed. The combination of only peat moss and perlite is no longer adequate.
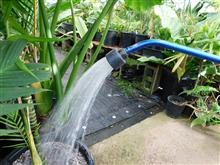
Watering
- Watering once every few days in a greenhouse environment is usually adequate. When the weather is hot and dry, more frequent waterings are needed. Outdoors, keep the medium mildly moist.
- Water with a fine flow of water – we use watering wants as shown here. Misters are fine too but deliver less water. Be careful of hose ends as they can disturb your seeds.
- Watering frequency varies with water holding capacity of medium and the ambient temperature/humidity. Sand needs less frequent watering while pure perlite more frequent watering.
- Automated misting systems are available but not typically needed. Beware of over-watering which can lead to rot problems and damping off of the new leaf.
- Water requirements are increased with bottom heat.
- If possible, use distilled water or reverse osmosis water. It puts less salt into the germination soil. Shown to the right is our reverse osmosis unit at our nursery. All plants get “RO Water”.
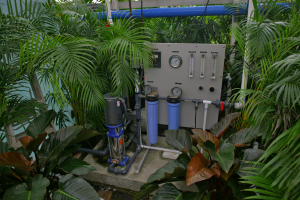
osmosis unit at Jungle Music
Ideal Temperature For Germination
- For most species, soil temperature of 80 to 85 degrees Fahrenheit seems to be ideal. This can be accomplished using bottom heat or a heated greenhouse.
- Cold temperatures (day or night) can slow or prevent germination.
- Excessive bottom heat can be damaging to a seedlings roots.
- Once then first leaf spear is showing, seedlings can be removed from the bottom heat if you wish. However, repotting should wait (see below).
- There are species from colder areas that prefer cooler germination temperatures.
- Overall, cold weather slows or may prevent palm seed germination
The First Signs of Germination
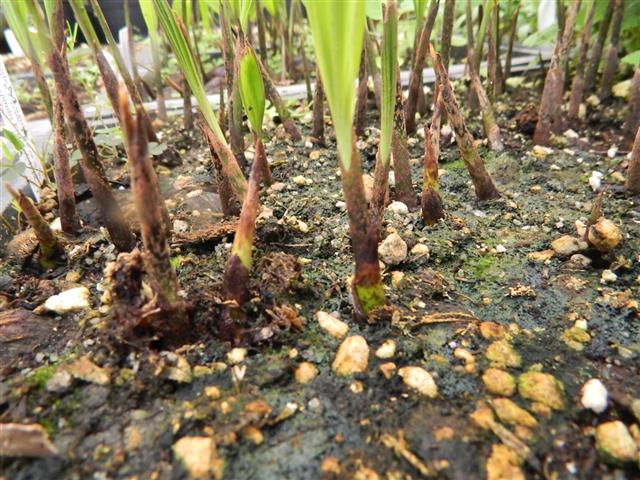
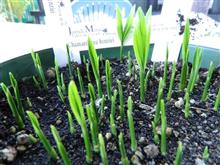
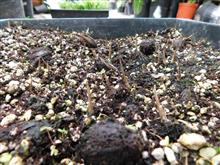
- For most species, the first sign of germination (in pots) is that you’ll see points or spears breaking the surface of the soil. They are like spikes pointing upwards. Usually there are roots below that you can’t see.
- Over time these spikes will slowly produce a leaf which will open.
- As mentioned elsewhere, when you see these spikes it’s not yet time to remove and repot the seedlings. Let them at least develop one leaf that has hardened off.
- Once then first leaf spear is showing, seedlings can be removed from the bottom heat if you wish. However, repotting should wait (see below).
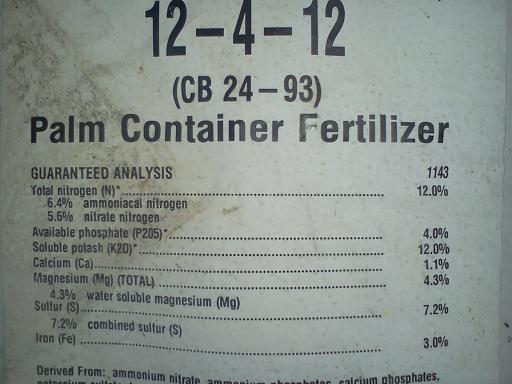
Not all fertilizers are the same
The best “NPK” is 3/1/3
(ratio, not actual numbers)
Click to enlarge photo
Fertilization Of Seedlings
- This can be beneficial after germination has occurred. But, to germinate seeds, fertilizer is not needed. You only fertilize “plants”, not “seeds”.
- It is best to utilize dilute fertilizer solutions. Some would combine a fungicide with the fertilizer.
- Remember, palms need a different fertilizer. The “N/P/K” ratio is as shown to the left.
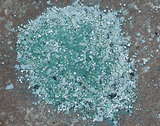
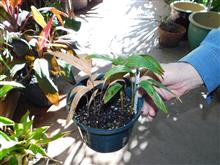
- We recommend soluble fertilizer for seedlings. But, you must dilute it out, about 1/3 regular strength. See photo to right.
- “Brand X” cheap fertilizers will most likely burn your new seedlings. Be careful what you buy.
- Never apply fertilizer to seedlings whose soil has turned dry. Pre-water seedlings prior to applying fertilizer.
- See article on palm tree fertilizer
Fungal Problems With Seedlings
- This can occur at any time and is the number one threat to successful germination of seeds. It is known as “damping off” and can be recognized by seedlings quickly turning brown and wilting.
- Can occur abruptly and destroy a whole crop of seeds.
- Can travel quickly to adjacent seedlings or from pot to pot.
- Requires timely use of appropriate fungicides. I use a product named Daconil, but it’s difficult to obtain nowadays.
- Prophylactic usage of fungicides can prevent.
Control Weeds
- If you are doing everything right, especially with outdoor germination, weeds will find there way to your germination containers.
- Weeds will probably grow faster than your germinating seeds and can prevent germination or overwhelm new seedlings
- Learn to recognize what is a weed and quickly remove them when young. Ignoring this recommendation may result in very low or no germination.
Repotting Of New Seedlings
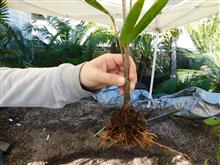
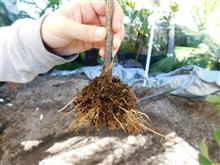
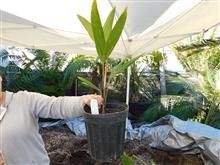
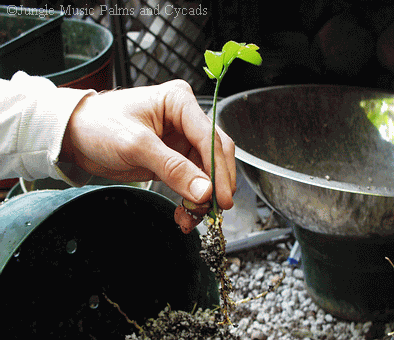
- Typically when at least one fully formed leaf exists. Ideally, I wait for the second or third leaf.
- Most vulnerable time for seedling demise is when doing the initial transplant. So, make sure the seedling is far enough along before you remove it and pot it up. With the “Baggie Technique”, you have to repot sooner than with other techniques.
- Seeds often geminate sporadically. Therefore, one may need to harvest seedlings that are ready and place remnant seeds back into the community pot for further germination.
- When first repotting the new seedling, introduce it into a very open seedling mix that offers easy penetration of the new roots.
- Watch for desiccation with transplanted new seedlings. Typically newly potted up palms need frequent misting to reestablish. Use of anti-transpirants or B vitamins may be useful
- After removing from a community pot is the most challenging and risky time for seedlings. Don’t be surprised if you lose some. Typically, if we remove and pot up fifty seedlings, we’ll lose about five in the first few weeks.
- The same applies to bare rooted seedlings you have shipped off the Internet. But, the death rates are higher. Anticipate losing at least 25% of bare root shipped seedlings.
- Because of the problem above, we only ship seedlings in their pots with soil after they’ve stabilized and are growing.
Time Needed For Germination
Lots of variables
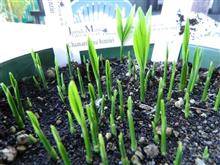
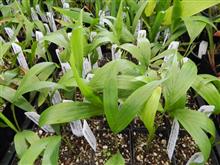
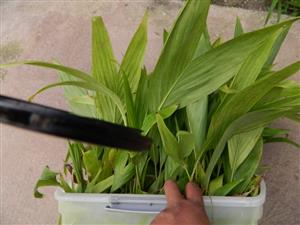
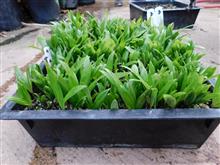
- Even for one species, germination times are so variable that predictions and generalizations are almost meaningless. At best, one could state that some genera or species germinate more quickly than others. Germination times are dependent on all factors discussed above and vary from one batch of seeds to the next. Photo to the left shows strong seedlings of Archontophoenix alexandrae. These are the results after one year.
- Commonly accepted slow genera to germinate include Acrocomia, certain Syagrus, Howea, Attalea, Jubaea, Jubeaopsis and Parajubaea.
- Quickly germinating genera/species might include Archontophoenix, Caryota, Chamaedorea, Ptychosperma, Veitchia and many others.
- With no success for six to twelve months, it is best to check your seeds with a pinch test. Often it is found that all the seeds are rotten and need to be discarded.
- An example of slower germination is shown to the right with Jubaea chilensis seeds. The first photo shows no results in six months. The second photo was taken about 18 months after setting the seeds down. Note how there’s some germination, perhaps 10%. These were from domestic seeds. It’s an example of how, with some species, you just don’t get high germination rates.
- Don’t be dismayed if you have a total failure and absolutely no germination with a batch of seeds. This can and will occur with all growers. Just move on and try again.
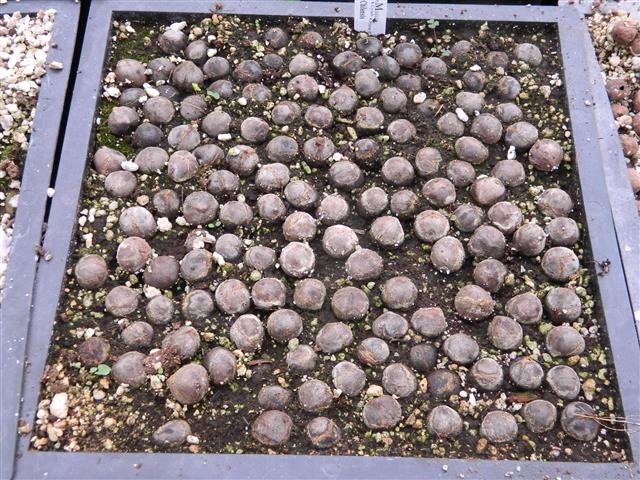
in flat after six month
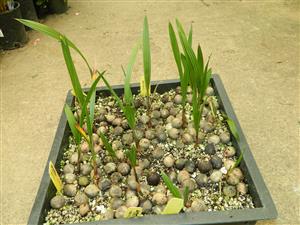
germinating after about 18 months
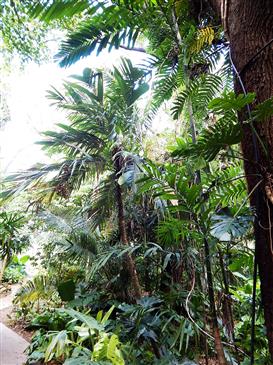
A historically difficult seed to germinate
Difficult Seeds To Germinate
- This problem is magnified if old, marginally viable or immature seeds are used.
- As you get more experience, you’ll find genera that are just plain difficult to germinate. Getting high quality, fresh seeds (collected by you) will definitely improve your results.
- Many seeds have a “shelf life”. So, getting old, dry seeds will slow things down or give you no results.
- Difficulties are seen with less than optimal germination techniques.
- Examples of Difficult Seeds to Germinate: Acrocomia, Jubeopsis, Parajubaea sometimes Jubaea, Parajubaea, Lemurophoenix, Astrocaryum, unusual Syagrus and Voaniola,
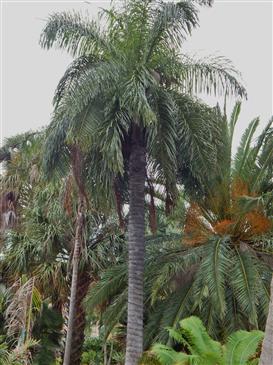
to germinate

Easy Seeds To Germinate
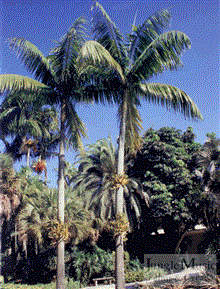
- Some seeds are definitely easier to germinate than others. This might include species that you collect on a street side like the common Queen and King Palms.
- Examples include genera such as Archontophoenix, Areca, Chamaedorea, Pinanga, Pritchardia, Sabal and Veitchia.
Overall Results
- Most dependent on getting fresh, viable seeds.
- Also dependent on technique and diligence of nurseryman or hobbyist.
- If one actively attempts to germinate many species and gets seeds from all around the world, an overall germination rate of 25% or greater would be considered excellent.
- For some species near 100% is the rule.
- For others, 10% would be phenomenal.
- Don’t get frustrated with failures. It happens to everyone.
- Better results will come from good seed suppliers who offer high quality seeds. And, as mentioned above, you’ll have the best results with seeds you collect yourself, clean thoroughly and pot up quickly.
Germinating Other Types of Seeds
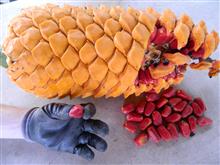
- These same basic principals do apply to many other types of plant seeds, although certain modifications are needed for some types of seeds. An example of cycad seeds are shown to the left.
- Hopefully soon we’ll offer an article on germination of cycad seeds in the near future.
END OF ARTICLE ON PALM SEED GERMINATION
Latest posts by Jesse Bergman (see all)
- PALM TREES, CYCADS & TROPICAL PLANT BLOG - October 1, 2020
- TRACHYCARPUS
The Windmill Palm - September 30, 2020 - FAN PALMS –
PALMS WITH CIRCULAR LEAVES - September 29, 2020
