Basics on Selecting the Right Species for Your Area, Planning the Design, Planting and Culture
by Phil Bergman
Basic guidelines for successful palm tree garden design, plant selection, planting, acclimation, maintenance, growing and care. These factors lead to successful palm tree landscape. Also learn about special problems with palms and what causes poor growth.
We’ll start with the very basics of landscape and move through selection of species and culture.
Introduction
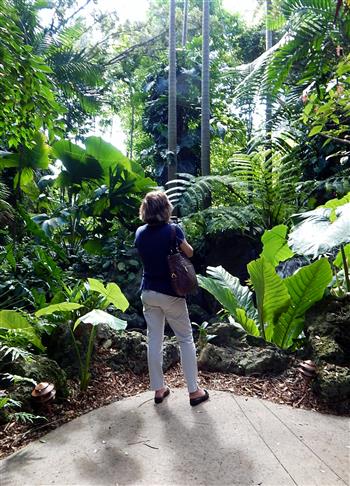
There are few groups of plants that offer the beauty and charisma of palms. This factor along with increasingly more species available to consumers has resulted in the palm craze that we’ve seen recently. Whether you are new and starting your first garden or an experienced collector just adding one more species, there are basic data that will make your growing palms much more successful. We shall start at the very beginning and walk you through all aspects of developing a palm garden.
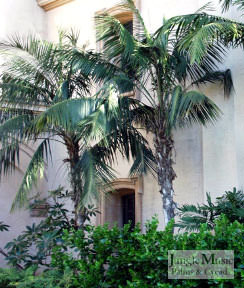
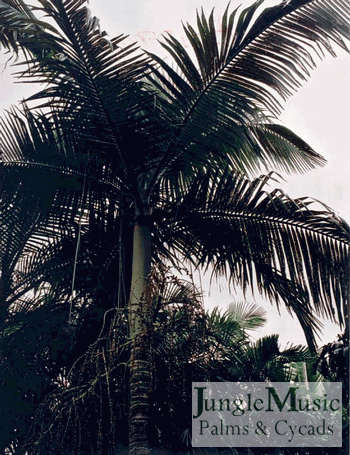
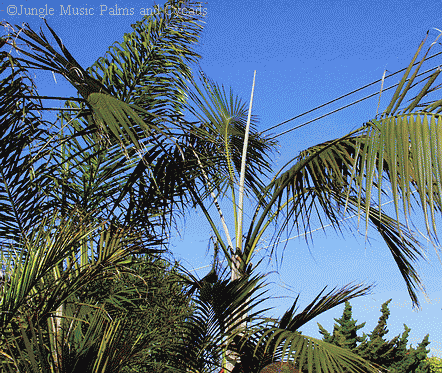
Howea fosteriana

Getting the Right Property
If you haven’t yet purchased or leased your home, search out the perfect location for growing. Find the warmest area in your locality and make sure you have good sun exposure. If you’re in a cold area, find property on a ridge or hill to promote cold drainage. Ask prospective neighbors if it freezes. Look for successful growth of palms in that neighborhood. Investigate water quality, soil quality and drainage as well. And finally, pick a property large enough to support your present and future palm habit. It’s all too common to “run out of room” even though you want to try different new species.
Before You Begin Your Garden
It is advisable to have a plan before you put in your first palm. Decide what you are trying to accomplish. Determine planting density desired, pathway location, needed retainer walls and improvements, and work areas. Dig a few holes just for the purpose of examining the quality of your soil and for checking drainage. This can be done by digging a hole about 18 inches deep. Then, rapidly fill it with water. If the water is gone within an hour or two, then you have great drainage. I’ll talk about this more below. Remember, if your soil is of poor quality, import new soil or begin amending soil before planting.
If you buy large amounts of soil, research it thoroughly and purchase top quality soil blends. Affordable fill dirt will haunt your garden forever. If drainage is bad, amend your soil with sand and install leach lines where needed. If possible, install your irrigation system prior to planting. Also, create your own home nursery and gradually accumulate species that you wish to eventually plant. This also gives time for acclimation (see below).
Don’t make the mistake of finishing your hardscape and then “having to buy all the plants today”. Or, trusting your beloved gardener to get you anything but the most common of species. I’ve seen it happen hundreds of times that people want unusual and end up with depot-type store plants.
r.
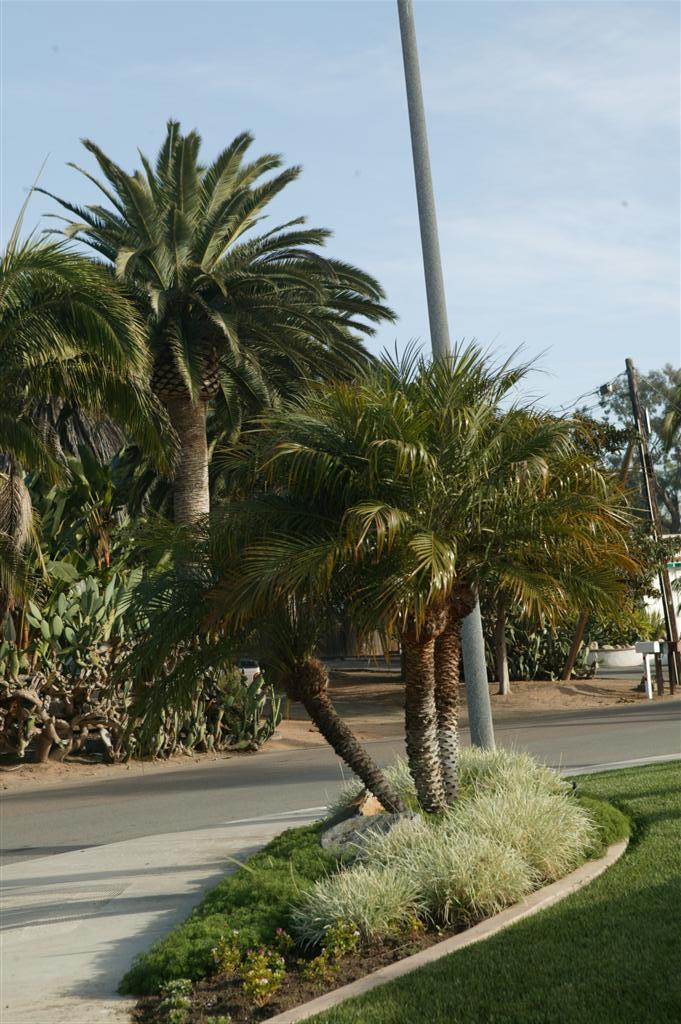
Garden Design
Haphazard planting gives haphazard results. Plant species in the appropriate locations. Palms are quite unique in that you can predict the plants eventual size and appearance. Also, one can get an estimate on the likely rate of growth. Usually, if you know the species you can anticipate how it will perform for you. You can predict how it will look in the chosen location in your garden. This allows you to pick the right location for each species.
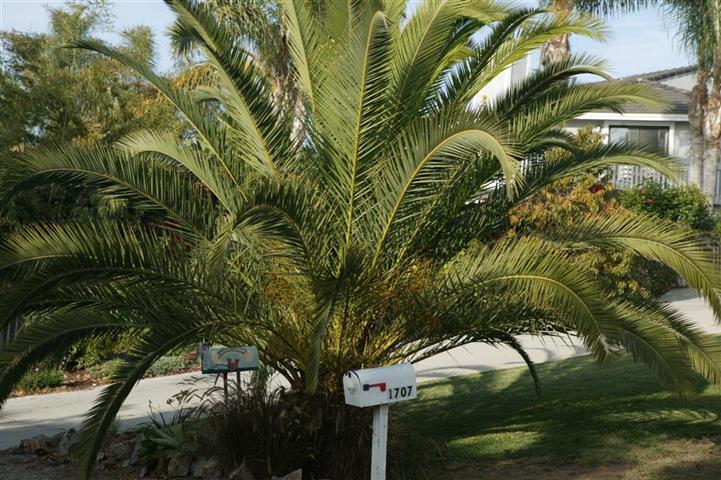
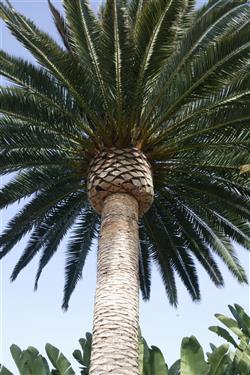
Plant smaller plants nearer the foreground. Or, the tall Caryota urens may shade out an adjacent sun loving species. The huge Phoenix canariensis planted right next to the house will most likely need removing later. A spiny species planted right next to a walkway could be dangerous. By knowing your palms and what they will be, you can avoid these problems.
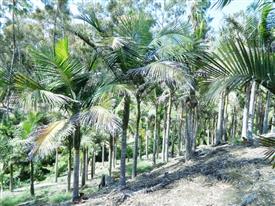
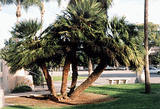
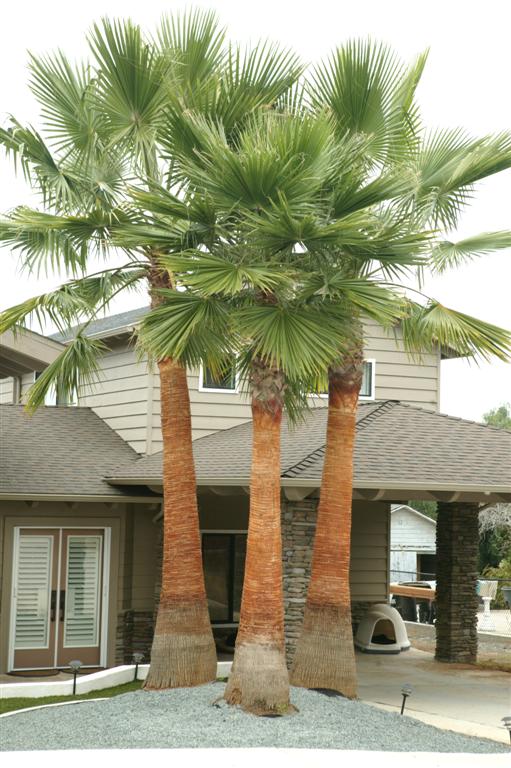
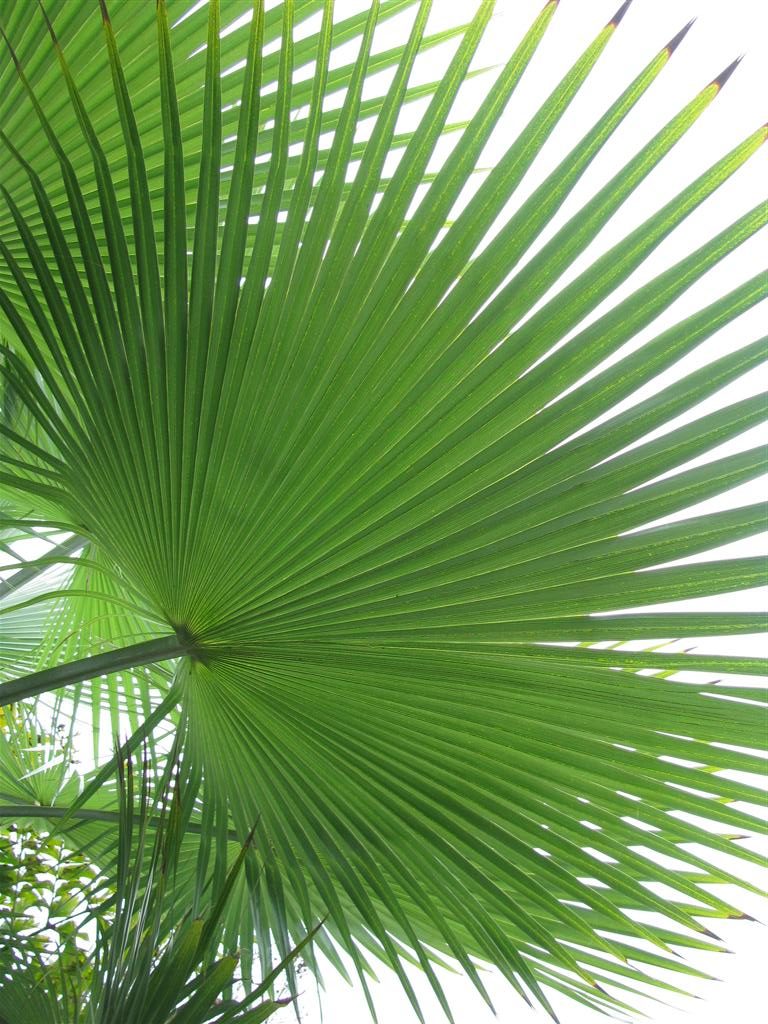
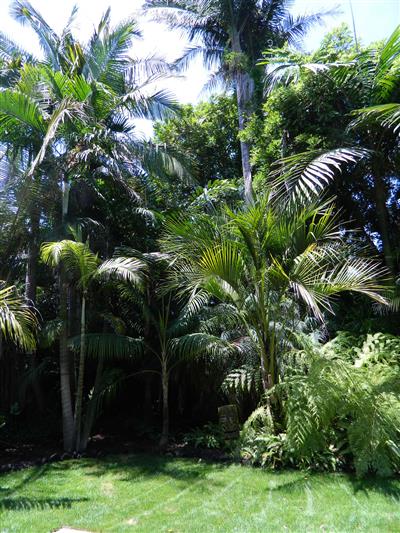
A very successful plan is to plant fast growing palms to establish canopy and resulting filtered light or shade. This not only gives a more protected environment below the canopy but vastly expands the number of types of plants that can be grown below. Just plant so the shade produced is where you want it. For instance, shading out the swimming pool might not be a desirable thing. Put spiny species away from well traveled areas. Remember to plant palms far enough apart to give plenty of room for growth and viewing. Also, be willing to plant fan palms to mix with your pinnate palms as this will add eventual diversity and beauty to your garden.
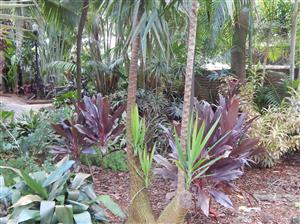
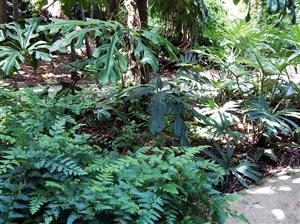
Another nice thing to do is to group multiple plants of the same species together. I.e., form a clump of multiple single trunked palms. Certain species such as Archonotophoenix, Howea, and Roystonea are attractive when grouped, so consider such a planting. Also, be imaginative. Use boulders if available. Have different elevations and mound some plantings. Utilize companion plants such as cycads, ferns, Ti, Heliconia, Philodendron, etc. as these can really give a great finished look and blend nicely with the palms. You can even attach a few epiphytic orchids or Bromeliads onto your palm trunks to add color and distinction. Also, palms in a row along a sidewalk or driveway can be quite dramatic. As an example, a large clumping palm will obscure smaller species planted behind it. So, put larger or fuller palms toward the back or away from your vantage point.
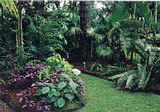
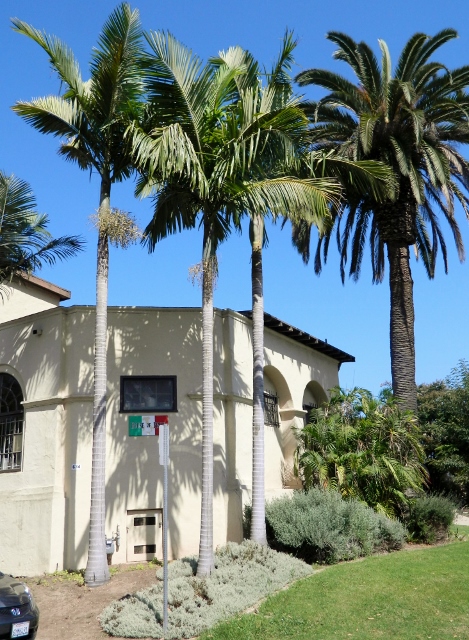
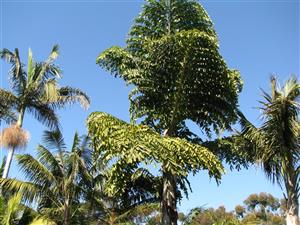
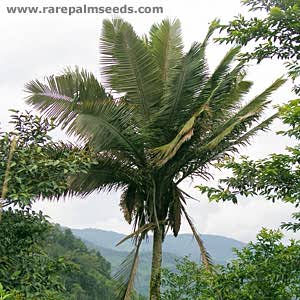
The Importance of a Canopy
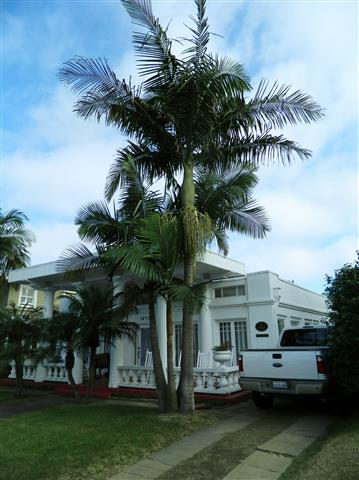
We mentioned the desirable advantages of establishing a canopy above. Rapid growing species such as Caryota, Syagrus, and Archontophoenix will quickly grow overhead and produce resulting canopy. This is aesthetically pleasing because it gives the third, taller dimension of height to your garden. More importantly, it gives a protected environment below that enables you to introduce many more exotic and sometimes fragile shade-loving species.
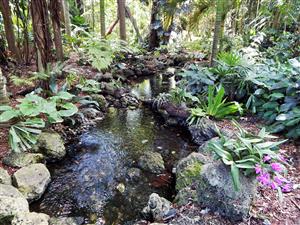
A well formed canopy may be the single most important thing you can do while creating a palm garden. The canopy results in areas below that are warmer in the winter, have less wind, hold more humidity and create a rain forest appeal. Many genera such as Geonoma, Chamaedorea, and understory Dypsis sp. cannot survive direct sun, especially at a young age. It would not be unusual to have microclimates below your established canopy that are three to six degrees centigrade higher on a cold night. However, always remember that palms will grow and your “canopy” might shade out a sun-loving species.
A nice thing about the canopy forming palms is that, as a whole, they are very fast growing. So, a functional overhead canopy can be developed in as little as five years.
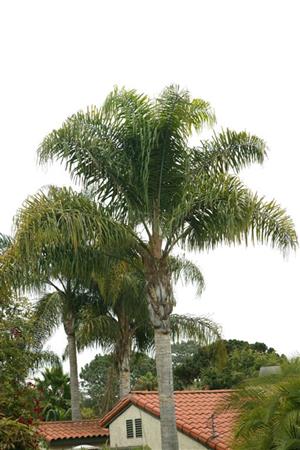
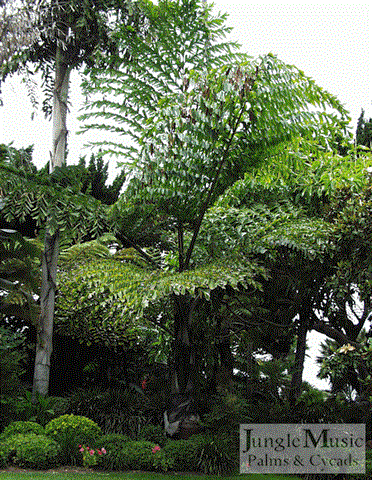
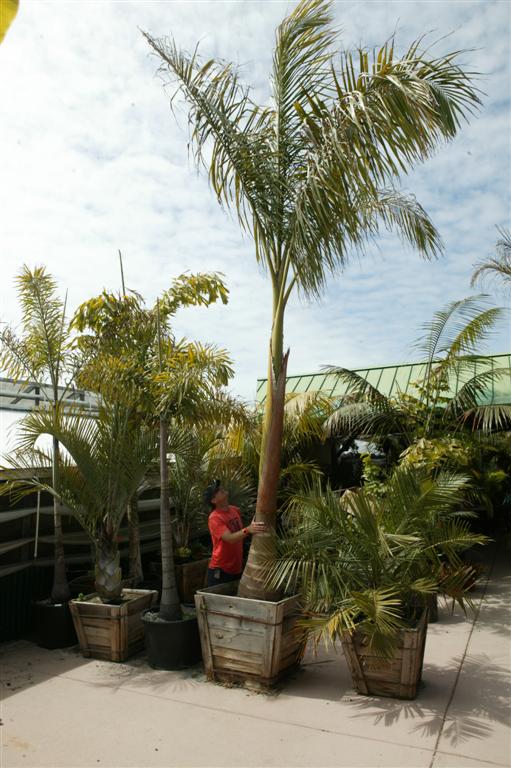
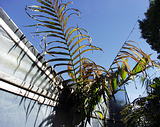
makes a great canopy palm
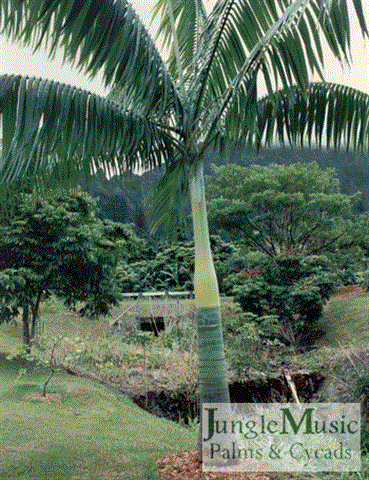
Selecting the Palms to Plant
Gradually accumulate the species you want for planting. Remember your canopy plants. Be adventuresome and try new species. Mix fans with pinnate palms. Try some dwarf species. Try species with different trunks, textures and color. Read about palms or ask friends who grow palms which species can be grown in your area. A good palm specialty nursery can easily provide this information. Don’t over-utilize a single species or genera. Just because Queen Palms were a good buy doesn’t mean that you should plant fifty of them.
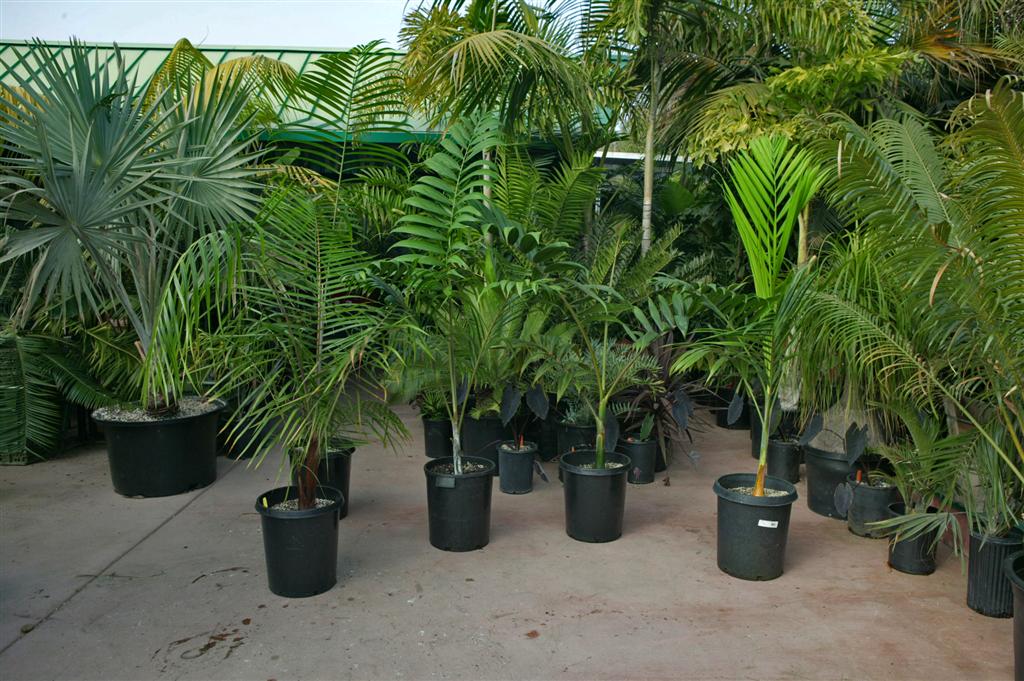
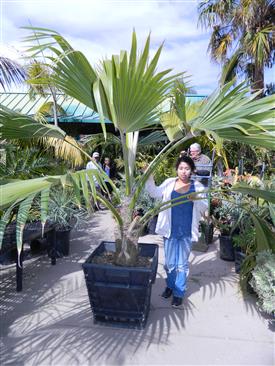
Acclimating Your Palms
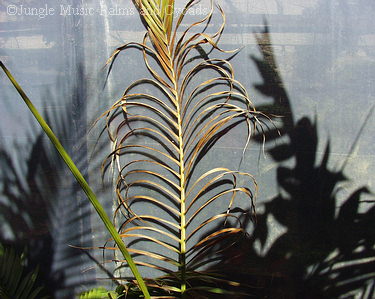
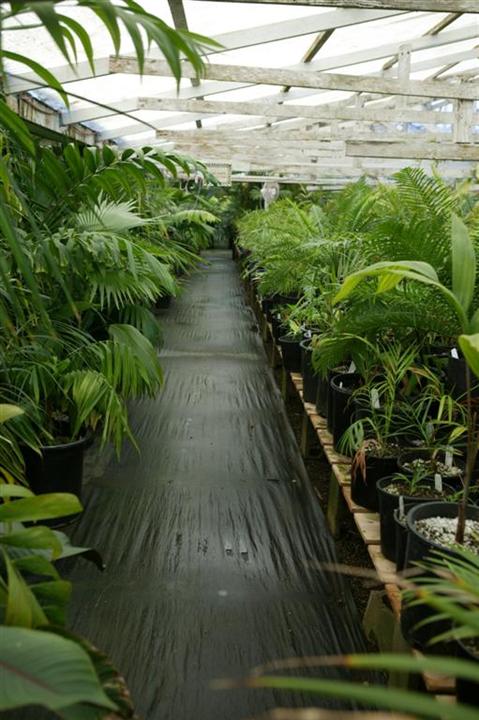
If your palm is from a greenhouse, shade structure or imported from a more tropical area, acclimate it before planting. Such plants must deal with lower outside humidity, cooler temperatures, and more intense sun. Any of these changes can be a problem for your palm, even if it is sun loving. Acclimation from the greenhouse into full sun should be done gradually over a two to three month period (or more) for many species. Start in the shade. Slowly and incrementally increase the sun exposure every two to three weeks. Occasionally wet down the foliage. If you notice any burn (faded, then brown areas) on the sun exposed foliage, return the palm to more shade.
An alternative to acclimation to sun is acclimating the palm into filtered light, planting it in filtered light and then allowing the plant to slowly grow into the sun. Finally, there is one more method: to place a temporary shade cloth over the plants and gradually over time cut holes in the cloth to let in more sun. Then, as time goes by, cut even more holes in the cloth over a gradient to allow the passage of more sunlight. I know an enthusiast who has successfully grown one gallon plants in the garden this way over the past decade with few losses. Now his plants are huge!
The Best Size to Plant
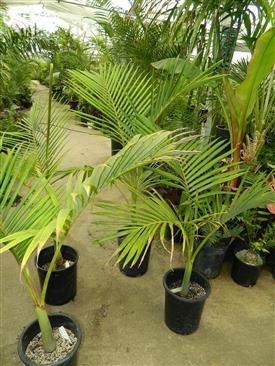
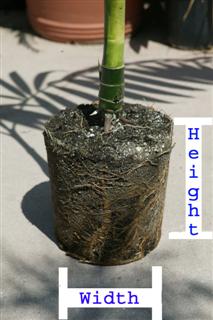
In most climates outside the tropics, a plant with some degree of size has a better chance of surviving, especially if it is a species that is marginal in one’s locality. A general rule might be the bigger the better, but pocketbook limitations may apply. I would recommend planting acclimated plants of at least one half meter height. Larger plants seem to better tolerate the shock associated with transplanting. Very durable species will most likely survive regardless of the age of the planted palm.
It typically takes a palm about 12 months after planting to start looking good. During its first six months, the plant is establishing new roots and acclimating to your gardens temperature, soil, and humidity levels. Existing leaves may yellow or age. As new leaves are formed, the plant may suck nutrition out of the old leaves. This makes older leaves look brown, faded and dying. This is a normal thing to see and (as long as it’s not the newest leaves looking bad) eventually the plant will establish a normal crown of leaves. One can sometimes see what is called “Post Greenhouse Shrink” where stretched out leaves used to the greenhouse environment get shorter when grown outdoors. This usually corrects in time. You can also see this phenomena with shade grown plants. Normally plants will reestablish their leaf length with time as they adjust to their new environment.
When to Plant
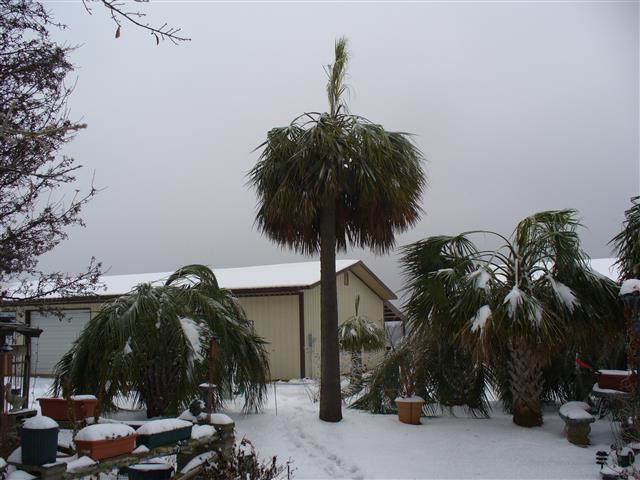
Outside of the tropics, the optimal time to plant is after the risk of cold weather has passed. This is typically spring and summer for most growers. If you live in a very mild climate, you can probably plant anytime from late winter to late fall. If you choose to plant just before cold weather arrives, try not to plant the most tender of species. I might add that there is disagreement over whether to plant in the Fall or wait until next Spring. Some say it gives the plant undue risk. Others say this practice optimizes root growth for rapid Spring growing. So, realize that not everyone agrees.
Drainage of Soil
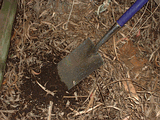
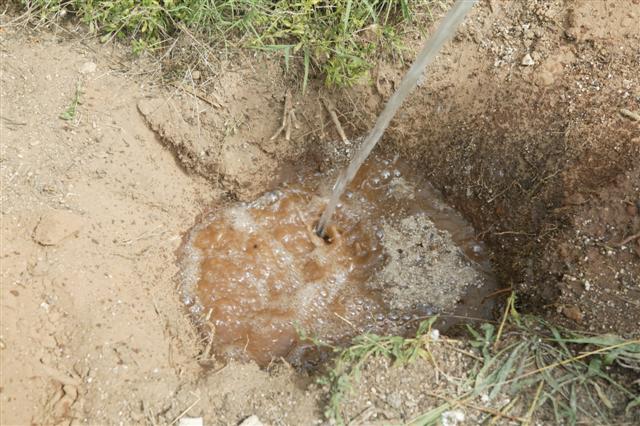
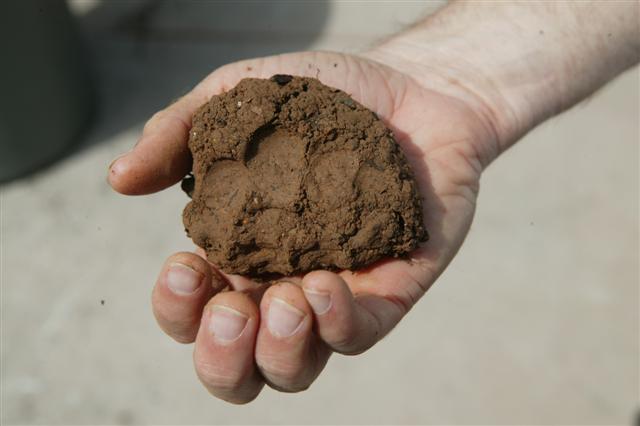
Almost all species of palms prefer good drainage. One should familiarize themselves with the type of soil in their garden and the drainage it affords. Heavy subsoil or clay may have very poor drainage. An experimental half meter deep hole dug in a representative area of your garden will teach a lot about your soil’s drainage in that area and how often you need to water the plants. Digging this hole teaches you the following: First, you will learn the depth of your topsoil and the difficulty of digging in your soil. Secondly, you can remove a sample of the soil and either by yourself or through a lab have the soil tested for such things as salinity, pH, and nutritional status. Third, you will discover the effectiveness of your existing watering pattern by just seeing how damp or dry the soil is in the hole. If the soil is very dry, you know you are presently under watering. If it’s soppy, the opposite. And, most importantly, the fourth thing you will learn how well your soil drains.
Into the 18 inch deep hole (about the same width) you’ve dug, quickly fill this hole with water and time how rapidly the water totally disappears. With excellent drainage the water will be gone within thirty to sixty minutes. Good drainage would take several hours. Adequate drainage would take six to twelve hours. With poor drainage, the water remains for 24 hours or more.
If you garden falls into this poor drainage category, you can predict some species will have problems unless you plan ahead. You may have found that, in digging your hole, you came to a clay or heavy substrata. It may be this layer that prevents the gravity driven drainage of water from the hold. With poor drainage, one actually gets “swimming pool” that hold water in the bottom of the hold that you planted into. Nothing tolerates stagnant, progressively brackish water in the bottom of such a hole. If this layer isn’t too thick, you can utilize heavy metal bars or a jackhammer to break up this layer prior to planting and thus promote drainage. Or, one can use a hefty drill and a very long auger bit to drill through this substratum. It may be advisable to prepare multiple holes at one time if rented equipment is used.
An alternative technique to handling this retained water in the hold is by digging underground diversion channels from hole to hole utilizing gravity to divert water down a slope. But, you must have an adequate slope for this to work. If none of the above techniques work, one can also mound plants (with or without constructed walls) above the water table. If your problem is heavy clay topsoil causing drainage problems, consider repetitive amendments of sand and coarse organic material. Over the years this will promote better surface drainage.
Planting on slopes presents a drainage problem of sorts. Slopes can work against you in terms of getting water to the roots. Irrigation water follows the path of least resistance. Often this is down the hold rather than penetrating the soil. “Water wells” can help with this. Also, slow emission of drip irrigation and mulching around the water well can help prevent the downhill loss of irrigation water.
Purchasing New Soil
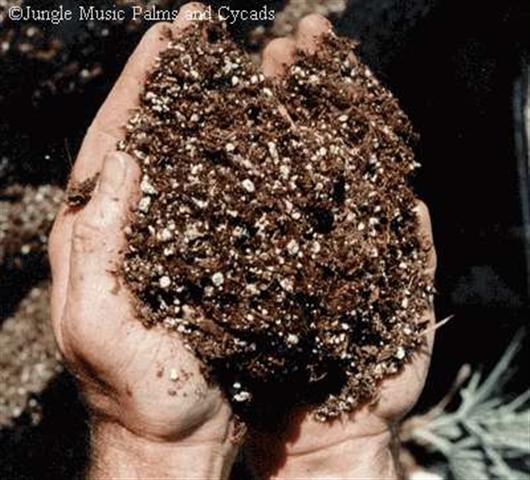
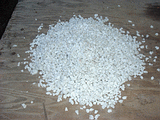
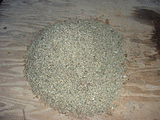
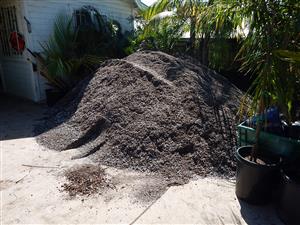
Purchasing the right soil is of critical importance and will be of paramount importance in your garden’s success. Locate the best supplier in your area. Soil for the garden differs from potting soil (for pots) and typically will not have perlite or vermiculite. An acceptable formulae would be 20% sand, 40% rich topsoil, and 40% organic material (redwood/fir shavings, pine bark, etc.). Always check drainage before you purchase. Coarse sand increases drainage, topsoil slows drainage. Get a mix with the largest grit sand possible. The larger grit of sand helps promote drainage and doesn’t break down at all.
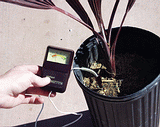
Ideal soil pH for palms is about 6.0 to 6.5 or a bit higher. Alkaline water will slowly raise the pH of soil. Test kits can be purchased to check the pH of your soil. Alkaline soil can lead to certain micronutrient deficiencies. This can be treated with sulfur containing fertilizers and organic mulch or topdressings. If a soil is too acidic, this can be reversed with dolomite lime mixed directly into the soil. Because of organic materials typically used, most soil preparers will mix dolomite into their mixes. Inquire from your supplier as to whether they utilize dolomite. If normally not, have them check the pH of your soil and treat accordingly.
Any prepared soil purchased for the garden, especially if used for backfill, will have to be compacted prior to planting. Freshly prepared soil mixes have air mixed into the blend. Also, the soils organic material will decompose over the years. Your garden’s soil surface above the newly imported soil will actually begin to sink with time. Therefore, compact the soil heavily with professional tampers and heavy watering and allow time for the soil to settle. If deep layers of imported new soil are being used, one may wish to actually build up the garden installation level above the final desired level. It would not be unusual for a rich soil blend with a high organic content to compact 20% over a five year period. So, calculate this into the finish line of the newly added soil.

Planting a Palm
(elsewhere at this Site there’s an article just on planting of a palm tree)
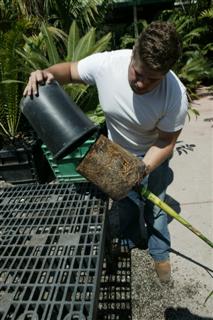
When planting into native garden soil, most growers recommend amending the soil used to pack in around the root ball. Dig the hole at least twice the size of the palms container. To the removed soil mix in organic material and possibly some sand. This will encourage new root growth into the soil. An acceptable ratio would be two parts organic material, three parts native soil, and one part sand if needed (clay soils). Place your mix into the bottom of the dug hole and compact it. Then water this soil. Put the palm still its container into the hole and check the planting height. The base of the trunk in the pot should match the garden soil level. If, when planting, the palm is on its “toes” (roots exposed), you must plant the palm deeper. If some of the root ball falls away you will make up for this lost height. If the level is acceptable, remove the palm from its container and gently set the root ball into the hole. Do not “flair the roots”. It’s rarely needed and can be destructive to roots. Add soil mix around the root ball half way up the hole, compact the soil and water. Finish filling the hole, compact again, top off the soil and water very thoroughly.
Under-watering after planting is a very common mistake. Remember, the water you add has to go all the way down to the bottom roots. Make sure enough water has been given to penetrate the root ball and new mix all the way to this bottom area. It takes a surprisingly large amount of water on the first watering. It may be best to let the garden hose run slowly for 45 minutes, gradually moving it around to each side of the plant. This “drip watering” is especially important with larger plant (boxed) where casual watering might be diverted away from a high mass root ball. Remember, water goes through the path of least resistance. That soil mixture outside the root ball may be far less dense and divert your water away from where it’s needed. Finally, if you have planted in a windy area or the plant seems unstable, attach the trunk to a firmly embedded stake in the ground. This stake can be removed when the palm demonstrates stability on its own.
Now let’s talk a bit about the plant before you put it into your hole. Most feel that it is best with a container plant to have its potted root ball slightly moist before planting. However, if it is too wet, the root ball will fall apart. Some growers prefer to cut the container apart while the plant is actually sitting in the hole, thus limiting root ball damage.. “Teasing of the roots” (scraping the root ball with a blunt object) prior to planting is not necessary. On marginal or extremely rare species, some growers are literally planting the entire plastic container, pot and all, directly into the soil. The theory is that this gives less shock to the plant and optimizes its chance for survival. Successes have been reported utilizing this technique. With time the roots will tear apart the planted container.
Other means of increasing survival rates include the use of vitamin sprays directly onto the foliage, use of antidessicant sprays onto the foliage, and tying leaves into a bundle for weeks or months after planting. All of these techniques do have efficacy. I personally utilize and recommend the use of commercial antidessicant (antitranspirant) sprays onto the foliage. These sprays literally coat the leaves with a thin water soluble layer of polymer material that prevents moisture loss through the leaves. Also helpful would be occasional washings of the leaves with water after planting and careful checks of the soils moisture content. New garden soil may dry out quicker than anticipated and one should probably water the plant again within several days
NOTE: We have a new article totally dedicated to “How to Plant a Palm Tree” elsewhere at this website. Do read it as it much greater detail on planting recommendations.
What To Do After You Plant
After planting, you must guarantee that your first watering was adequate. Anticipate watering again in a day or two. Spray down the leaves occasionally. New soil preparations may repel water and need frequent initial watering. In the first several months, never allow the soil to dry out completely. However, avoid overwatering as this may discourage root growth or even cause rot. Repeat antidessicant sprayings can be used. Tied up crowns should be released within one to two months. A small temporary shade structure utilizing shade cloth and stilts can be constructed above a planted palm to protect it from direct sun if no pre-acclimation was done. Immediate fertilization is not needed on newly planted palms. We recommend that you wait for six to eight weeks before applying any fertilizer.
Watering
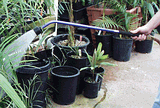
The purpose of watering is to get water to the palm’s roots. Two factors are involved. First is the volume of water given. Most growers like heavy watering at lesser intervals. To know if you are giving an adequate volume, dig an exploratory hole and confirm the water is penetrating deeply into the soil. The other factor, watering frequency, depends on ambient temperature and humidity, drainage patterns, soil type, volume delivered and plant needs. Watering frequency is increased with higher temperatures, lower humidity, quicker drainage, looser soil types, smaller volumes of delivered water and water loving species. There is no recommended frequency for watering. You must inspect the soil. Most growers will water when the superficial soil is becoming somewhat dry to touch. Newly planted garden areas often require more water. Mulching the gardens surface will conserve water. Learn what your garden needs by frequent inspections and adjust your watering patterns accordingly.
Be aware that the number one cause of plant decline after planting is under-watering.
Water delivery techniques vary from hand watering to sophisticated computer driven sprinkler systems. Computerized systems do save time and can conserve water by eliminating the need to turn off valves. Drip systems can be utilized, especially on slopes. Broad throwing “Rainbird” type sprinklers are the least efficient and often have dry areas. Most growers utilize a system of customized sprinkler heads adjusted to their needs.
Another specific water problem is when you get water “theft” from older, larger adjacent plants or competing lawns and ground covers. These plants will actually steal available water from your new palm. This is particularly important when you plant a small palm among larger trees, especially foliage trees such as Eucalyptus. The larger trees roots will quickly fill the space adjacent to your newly planted palm. There is little you can do for this besides giving extra amounts of water and fertilizer to needed areas. For lawns and groundcovers, cut these back several feet away from your planted palms.
Mulching The Soil
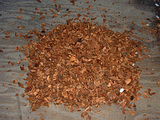
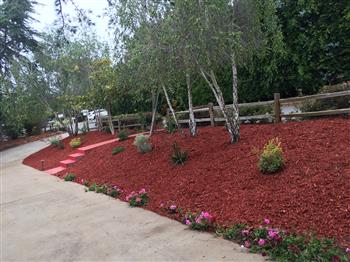
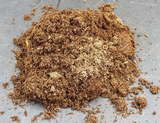
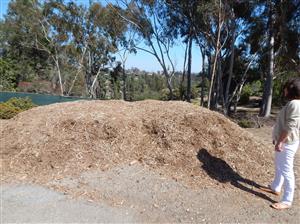
Mulching is the process of adding aged organic material to the surface of the soil. What you add is sometimes called “top dressing”. Adding an inch or two of organic mulch directly on top of the garden surface will enrich and add acidity to the soil, decrease water requirements, help with weed control and make the garden look nicer. It will also break down and gradually improve drainage. Organic material such as aged fir, redwood or pine shavings, shredded leaves, or aged “stable litter” (shavings with horse manure) work well for this. Avoid mulching with leaves from trees such as Eucalyptus that can contain toxic tannins. It is advisable to utilize shavings which have been given a nitrogen fertilizer to avoid the nitrogen loss concomitant with the breakdown of the mulch. Before mulching is a good time to apply fertilizer to the soil. Do not mulch over the crown of a small palm. Designer mulches of all colors are now available.

When and How to Fertilize Your Newly Planted Palm
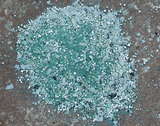
Correct application of fertilizer gives nutrition to the plant to optimize growth. Incorrect usage of fertilizers kills or weakens the plant. Thus, it behooves one to understand fertilizers. Familiarize yourself with preparations available and use one that provides good results in your garden. Always read and follow the manufacturers directions. Also, never fertilize upon garden soil that is dry or you may get a chemical burn. Deeply water the garden and then spread your fertilizer. Avoid throwing fertilizer into the crown of a small plant and diffusely distribute the material around the base of the palm, roughly matching the shadow on the ground from the overhead leaves. It may be best to work the fertilizer into the top few inches of the soil.
There are organic and chemical fertilizers. Organic materials such as blood meal, processed sea kelp, fish emulsion or various manure preparations are usually available. Chicken, horse and rabbit manure are usually safe to use, but one must be careful with steer manure as it can be too strong and burn plants. Never apply manure directly against the palms trunk or roots. Organic fertilizers offer some microelements not available in standard fertilizers. Blood meal is good for greening up foliage. The undesirable odor of these fertilizers can be lessened if they are placed under your layer of mulch. Application rates vary, but three times a year is usual. Many organic gardeners feel that chemical fertilizers kill beneficial animals and insects (such as worms), so organic fertilizers have this additional benefit.
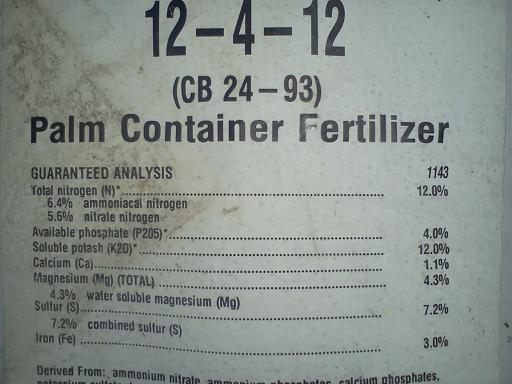
Manufactured chemical fertilizers are either quick release, slow release or somewhere in between. Quick release preparations are granules that go into solution and are available to the plant after several waterings. One gets a rather quick burst of chemical. Consequently, they carry more chance of plant burn, whereas the slow release preparations help prevent this. The latter are either 90, 180 or 360 day release. They have a polymer barrier around the fertilizer pellet to slow its release. Both types of fertilizers come as granules and are quite easy to spread in the garden. An ideal fertilizer would be one with the N:P:K ratio of 18:6:18, 15:5:10, or some similar type of ratio. Get a fertilizer that has added microelements such as iron, magnesium and manganese. Soluble fertilizers are chemical fertilizers that immediately dissolve in water and are not typically used in garden applications except when drip system fertilization is being utilized.
Regarding amounts of fertilizer to apply, a good rule is to use less fertilizer than the plant optimally could consume. I am not talking here about starving the palm but rather avoiding excess fertilizer which can literally kill the tree. This is particularly true with quicker releasing fertilizers. I have personally seen palms with meters of trunk killed by fertilizer burn, especially when applied onto dried soil and “washed in”. Fertilizer burn will quickly turn the newest leaves and leaf spear brown and necrotic. Over the next several months the spear will rot and finally pull from the crown of the plant. The old leaves continue to look fairly normal but the plant is dead. The problem can typically be traced back to inappropriate fertilizing technique or amounts. The bottom line with any fertilizer is the follow the manufacturers directions on application rates and don’t overdo it.
Pruning Palm Trees
Some genera of palms such as Archonotophoenix and Euterpe are “self-pruning”, meaning the old dead leaf with its leaf base fall off without your cutting them. Other genera such as Washingtonia and Syagrus require manual pruning. Without such pruning they will develop a “skirt” of old leaves around the trunk. Such leafbase skirts can present a fire hazard, are sometimes unsightly, and are home for many species of rodents. In many cases pruning is more for the aesthetic wishes of the grower than for the health of the plant. With most species which do require pruning, the skirt of old leaves will eventually drop to the ground on their own.
A general rule is that leaves should only be removed when they are dying or becoming unsightly. One starts with the lowest leaves first. You will become familiar with spotting the oldest leaves with experience. Never cut off new or newly emerging leaves. When pruning, leaf petioles should be cut as close to the trunk as possible. Premature surgical removal of green leaf bases can lead to trunk scars and a portal of infection. Old flower stalks can also be removed. Do not over-prune a palm as this can stress the plant. For tall plants, a pole saw with aluminum extensions can allow one to prune much higher than you think.
When pruning, only use clean cutting equipment. Disinfect equipment between trees. Equipment can be treated with scrubbing and then a ten minute soak in a 2 to 5 percent bleach solution. Chainsaws are not recommended on some species of palms as it is not possible to adequately clean the equipment. Not cleaning equipment can transmit lethal infections such as Fusarium in Phoenix species.
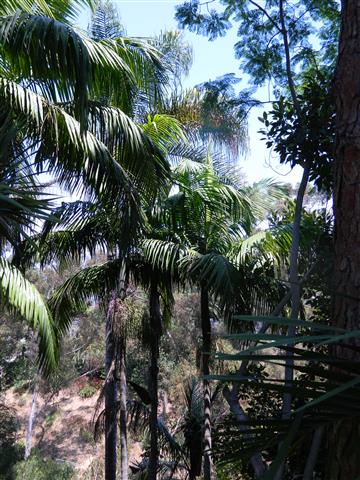
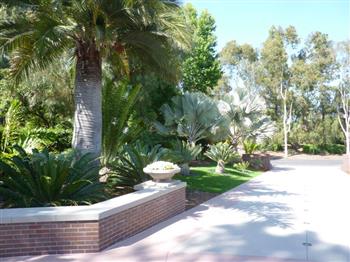
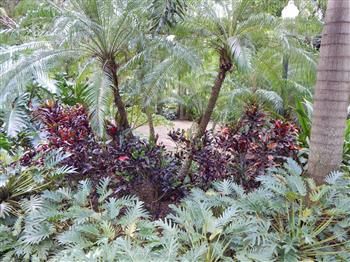
Palm garden
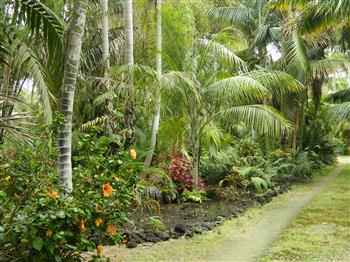
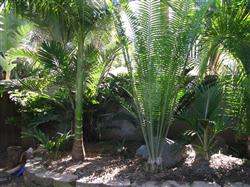
Palm Growth and Cultural Observation
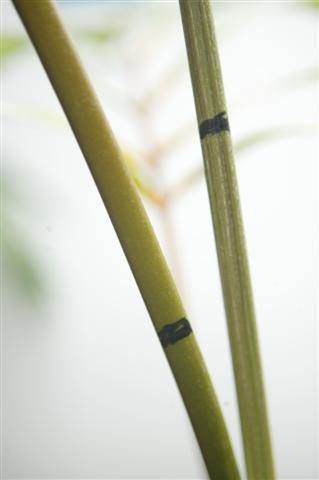
Successful growing can be casually noted by observation of the palms size and girth. However, more precise measures can show incremental growth. A simple method is to observe new spear growth on a daily basis. One holds the newly emerging spear next to an adjacent and mature leaf petiole. Together these are marked with a pen at the same level. Daily observation will show these two marks to be diverging, representing emergence of the near spear. This can be an inch a day or more on the newly emergent leaf but probably a quarter of an inch is average. The imported thing is that there is movement. A dying palm just doesn’t put growth into this new spear typically. It has been reported that growth is more rapid at night.
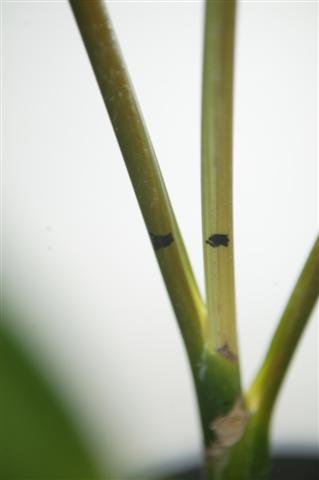
mark the newly emerging spear to match. See photo to show this.
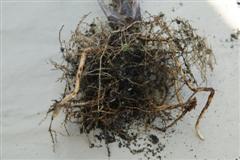
One can also measure the number of leaves thrown during a growing season. This is species specific, but a well grown species may have six or more emergent leaves in one year. When a palm changes its growth pattern and has multiple new leaf spears “hanging up” at the same time, a cultural deficiency or other problem may exist. This can be seen in a recently dug specimen. It represents shock and the plants inability to muster energy to open the leaf. One can also observe the distances between the leaf scars on the trunk. During times of cultural deprivation, these rings are crowded together and the trunk may taper in. During optimal growth there is a striking distance between them, often more than 30 cm with Archonotophoenix.
Leaf inspection can also give information on culture. One can observe the length of the newly formed leaves. A shortened or malformed leaf (in the absence of obvious pests or changes of sun exposure) may represent a nutritional deficiency. A generalized yellowish and eventually whitish appearance of new and old leaves may represent a nitrogen or iron deficiency. A parched appearance on only the sun exposed areas of leaves is probably an acute sun burn. Shade loving plants that chronically get too much sun will have a bleached out yellow-green appearance and may eventually turn almost white. This chronic overexposure to sun involves leaves diffusely whereas an acute sunburn is only on the sun exposed areas of the leaf. A weak and dry newly emerging leaf can be secondary to water shortages or fertilizer burn. Waterlogged roots results in plants that are weak and anemic (pale) appearing. High salt content in the water can give brown tipping to the leaves. Sudden decline of all leaves and instability of the trunk may represent damage from a burrowing animal or Pink Rot
CONCLUSION
There are many aspects to planning, designing and creating a successful palm garden. But, palms are extremely easy to use in landscape. Most species are fairly pest free, many have good cold hardiness and they just need to be properly selected in terms of size, shape and cold hardiness. If you read and understand this article, you are well on your way to having a great garden.
Phil Bergman
Owner and Author
- PALM TREES, CYCADS & TROPICAL PLANT BLOG - October 1, 2020
- TRACHYCARPUS
The Windmill Palm - September 30, 2020 - FAN PALMS –
PALMS WITH CIRCULAR LEAVES - September 29, 2020
